Showing posts with label tutorials. Show all posts
Friday, September 30, 2011
Freebie Friday Bat Man shirt Pattern
In truth I wanted to do spiderman. The buddy has been finding spiders for me to kill, and then cleaning up the remains with tissue paper and then calling himself "spider man." This needed a spider killer shirt. But the buddy said, no, I want BATMAN! But I didn't want Batman. I wanted a spiderman shirt. Well, sometimes I have to remind myself that with unimportant things it doesn't matter what I want. (As a side note, I'm not super big on the super hero craze he's got going. I'm doing my best to discourage the four year old. FOUR. He's got years to enjoy them. But isn't he a little young? I think so.) Anyway, my evil plan was to put the bat in between the words BAT and MAN it wouldn't be so overly batman. right? Did it work?
Here's the simple tutorial:
Materials:
Pattern
fabric-black, purple (whatever colors you want)
heat 'n bond (found in the sewing notions section I think)
iron
scissors
T-shirt
Print out the "Bat Man Shirt" pattern. Cut out around each of the words and the bat.
Use your cut out paper patterns as a guide. Cut out three same sized peices of heat 'n bond.
Place the bumpy (not paper) side of the heat 'n bond on to the back side of the fabric of your choice, iron on following the heat 'n bond instructions.
Cut out the bat and words-on the lines. I cut through the B and the A's so I could cut out the inside part as shown.
And use as a stencil of sorts. Draw around the words on the heat 'n bond. Make sure you turn the letters around backwards so that they will be the right way when you flip the fabric over.
Cut out the fabric backed with heat 'n bond and peel off the paper.
Position words on your shirt, and iron on
Wala. ..
Show it off!! enjoy!
Friday, September 23, 2011
Freebie Friday: Personalized Labels
So I was privileged to be a guest poster on Meremade for her back to school month, which is still going on so head on over and get some more great ideas! Here is my contribution:
I may have a small obsession with labels :) But when it comes to school supplies, can you really have too many labels? I don't think so either, especially fun printed and personalized-for-you labels.
Today that's what I'm sharing--some free printable Personalized Labels. The beauty of these downloadable labels is you only have to type in the name once and it fills out all the labels on the page! So nifty! (Or annoying if you wanted them all to be different . . . alas). I say some because there are a few color choices for you to choose from. Color is important, right?
Okay, so the options are (click to download):
- RAINBOW with BLACK writing
- GREEN with BLACK writing
- GREY with TEAL writing
- GREY with HOT PINK writing
- MUSTARD with GREY writing
So my mini tutorial is simple:
What you'll need:
Printer
Printer Paper
Scissors
paper cutter (optional)
Packaging Tape
Stuff to label---lots of it!
1. Download the Labels of your choice. Open them up in adobe reader and click on a yellow box inside one of the labels. Type in the name of your choice. Push enter and watch as all the labels are magically filled in for you! Print out on plain old regular printer paper (don't worry the yellow highlights won't print).
2. Cut out with scissors or a paper cutter. Even if using a paper cutter you may need to cut a little bit with scissors since some of the lines don't go straight through from one edge of the paper to the other.
3. Pull out the packaging Tape and get taping! I cut my tape with scissors so it would have smooth edges instead of the jagged ones made by an included cutter.
4. Make sure the packaging tape goes over on all edges. We don't want any water getting underneath because you probably printed on an ink jet printer and they bleed if water touches them (which is a good reason not to print on the letter size sticker paper--kudos for being cheap).
5. The flag labels are the ones with the small writing on both ends. I put them on my scissors. I used a peice of double stick tape to stick the two flags together as well as the packaging tape on the outside (I didn't bother to do that with the flat ones). It's also a little bit tricky to get the tape through the scissor handle without getting it stuck. But once you do, CAREFULLY fold the pointy tips together first and then stick the rest of the tape down towards the handle. I had to clip the tape at the handle to make it fit a bit better, but it's really up to you.
If you are more into practical stuff than fun flags, I might just tape a little label onto the side of the scissors . . . if you're boring (have I discouraged you enough yet, hee hee!)
6. For the crayons I didn't want huge pieces of packaging tape on my crayons so I cut a piece of tape the width of my tiny labels and then cut that in thirds and used all three pieces for three different crayons.
Anyway, you get the idea. Not too tricky. Now all your stuff has pretty personalized labels that were fairly fast, and hopefully super cheap and everything is so organized right? Hah. Good luck finding the time to do it!
Happy labeling!
Friday, December 17, 2010
Freebie Friday- Pinwheel Bows & Gift Card Pillow Box
I think this is going to be full of disclaimers. Seriously. That's what I get for waiting until Thursday night to figure out a Freebie for Friday. Ah, the stress, sometimes I get better results, sometimes not. It's good for me to be constantly figuring out something new though. I like that. Well, enough about that. Here it is: last minute bows, and last minute pillow (I get it confused with billow-see pdf) boxes for gift cards. Click here to print it.
First disclaimer: I realized after all the stores had closed, I was out of yellow ink. So while everything appears pink-the actual printable is green and RED. They match last weeks gift tags. Sorry about that. But here are the bows and gift card box: When folded the bows are a little over 2 inches, and the box fits a gift card-but you could use it for favors or small gifts too.
I've also created a little movie tutorial for folding the pinwheel bows because they are a little confusing for me to explain in type. Maybe I'm just a visual learner. Second disclaimer: I sound (and feel) like an idiot in this video. I know, everyone hates themselves on tape-me too. Sorry about that. I also apologize for the poor lighting, But hopefully the movie helps.
And a Third disclaimer: I didn't take any pictures of the gift card pillow box because it was half one color and half another (see first disclaimer ) but it's fun, and you'll like it. I promise :) Just make sure you use cardstock! Oh, and I think these little pinwheel bows would be so cute on top of a a cookie wrapped in plastic wrap or on a little gift, or as ties for little paper garland . . . Enjoy!
**Also, due to next Friday being Christmas Eve I won't be posting a freebie next Friday. I'll try to post one sometime between the 26 and 30, but won't again on New Years Eve. I will resume regular Friday postings on January 7th. And I hope you all have a very Merry Christmas!
(this is the back side with a sticker over the white space. That's a fun way to use it too :)
Thursday, November 18, 2010
Fabric Envelope for Lace up Dolls Tutorial
I made this fabric doll envelope specifically for storing your lace up dolls when not in use. A package of lace up dolls with fabric envelope would make a fun Christmas present for someone special too . . . When finished the envelope roughly measures 6 x 8 inches.
*I may also be posting 4 more winter outfits for the lace up dolls in the near future . . .
What you need:
Envelope Template (click to download)
1 thicker weight fabric for outside (I used an old pair of khaki slacks) at least 14 inches square
1 cotton weight fabric for lining (cheap walmart fabric)
1 inch piece of velcro (male and female)
button-optional
sewing supplies
1. Print out and put together envelope template following instructions in pdf.
2. Using envelope template, pin and cut out one envelope from each fabric.
3. Find center of flap by fold lining in half and crease on top "blue" flap (outline color of template) Place velcro across crease and 1/2 inch from edge. Pin and sew down.
4. With right sides together, pin together. (It appears that my right sides aren't together-they really are, it's just such low quality fabric that the print shows thru almost as good on the wrong side). Start sewing on the long flap (purple) where my finger is with 3/8 inch seam allowance. (This is an out of the way spot that is straight, not curved). Remember to leave an inch or two opening to turn it right side out.
5. Clip curves and corners
6. Turn right side out. I used the flat end of a skewer and ran it along all the edges. Iron edges. You'll notice a little picture on the opposite side. *See notes at bottom for explanation.
7. Fold up flaps starting with orange, then purple, then blue. Pin in place and hand stitch shut taking care not to sew all the way to the back (You want to be able to open the envelope when you're done)
8. Fold down top and determine location of second peice of velcro. Pin and sew, again taking care not to sew back two layers. (this is kind of tricky-but you can do it.)
9. Sew a button on top so you know which end opens.
*note: I wanted a label on mine. So, I stretched a piece of cotton tight and taped it to a letter size sheet and then printed out a little label on the computer onto the "fabric." It isn't super clear and it kind of printed wiggly, but it's okay. After doing so, I realized you can buy printable fabric. Alas.
I just sewed it to the right side of the outer fabric before sewing them together. If you're interested in having a label let me know.
Monday, September 27, 2010
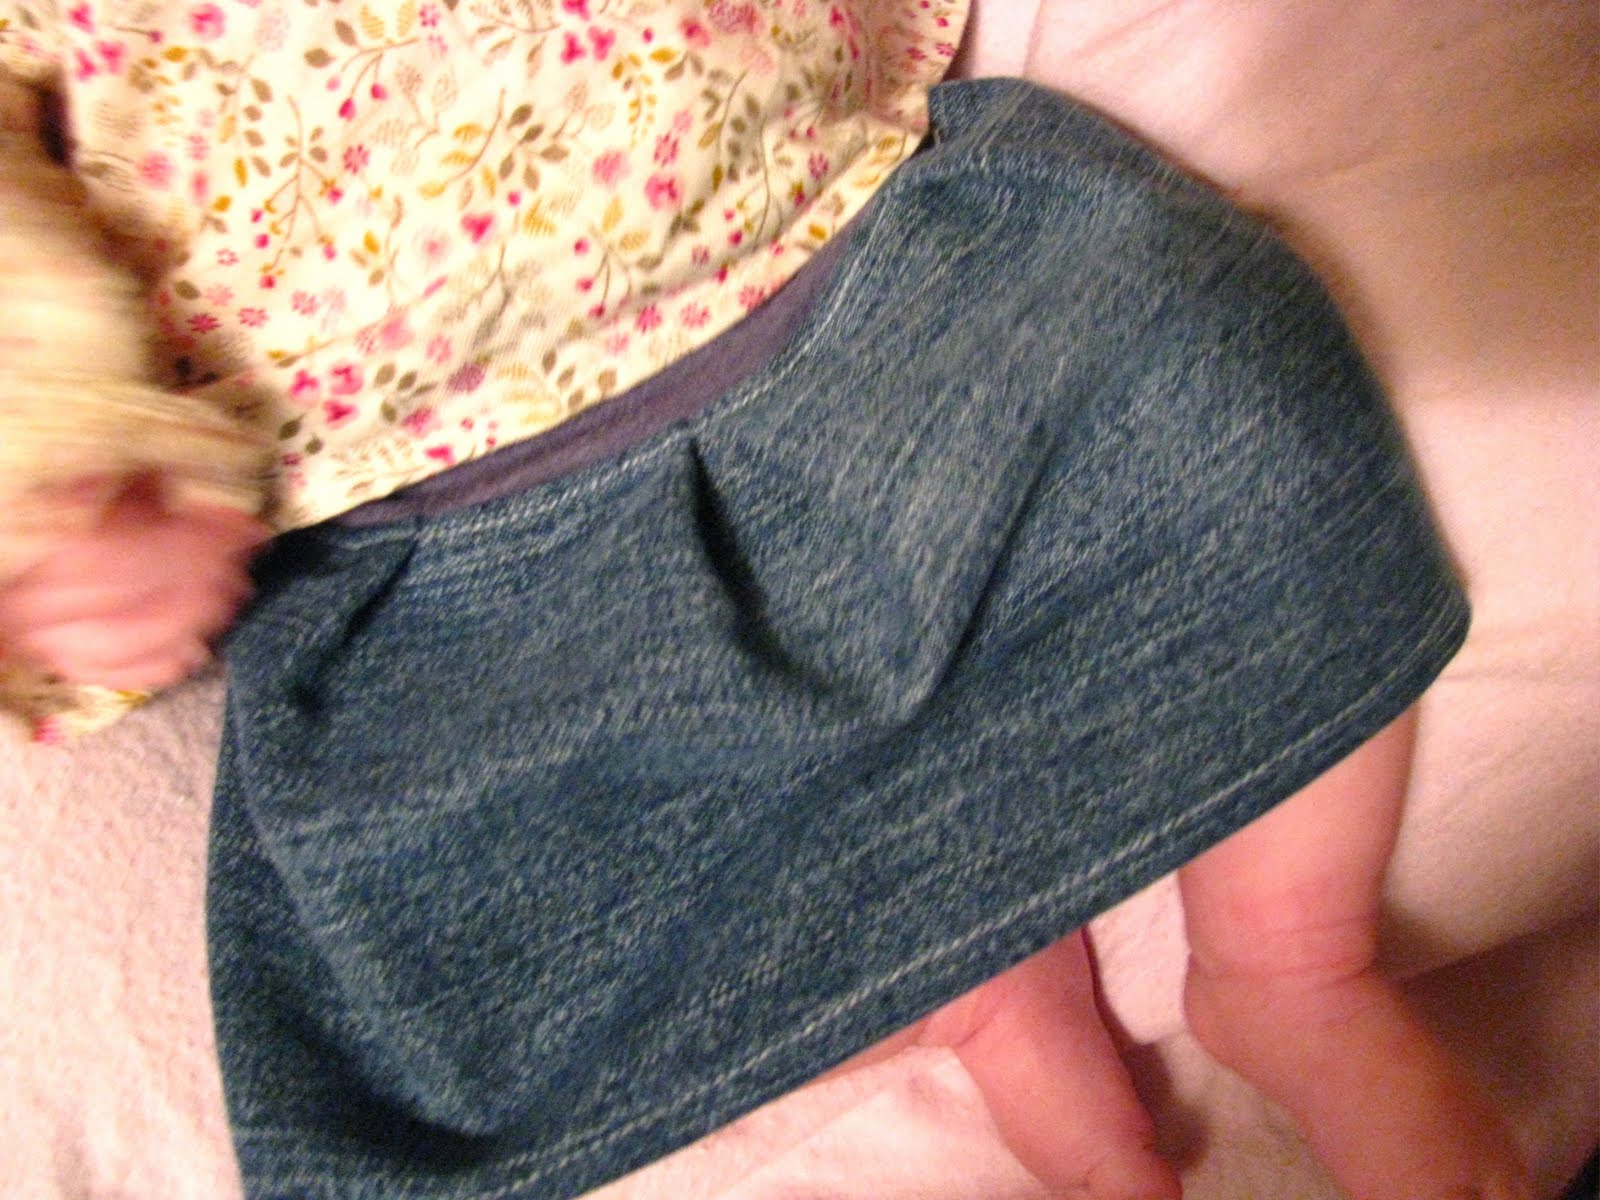
a jean skirt
I LOVE this tutorial from homemade by jill featured on kojo designs. It was a very easy, and fast skirt to sew up, and stinking cute I might add. I think I'm going to have to make a couple more . . . They're perfect to pair with tights for the fall! Corderoy . . . mmmm.
Just a few observations about the tut-I don't have a serger so I just zigzagged where it said to serge. The pattern is also made for 3-6 month old, but mine fit my 6 week old okay, a little big, so I think it will fit for a while, but I'd say it was on the small side of 3-6 months. Overall it took me about an hour from start to finish. An even better reason to make lots!
the sweetie in all her wiggly glory wouldn't keep her legs down. This is the best of the bunch . . .
Monday, September 13, 2010
psudo Tutorial: Rosette headband
I have a little dish on my dresser where odds and ends hang out. Mostly jewelry and hair accessories I'm too lazy to put away, change, you know that stuff. . . I was digging through it a couple of days ago and made a little connection. I had a left over rosette from making this, and a piece of shiny elastic. I thought, why not sew that rosette on the elastic-I actually had another rosette floating around as well, and make one of those hairbands that have sprouted up everywhere. It was super easy, and well, I thought I'd show you how I did it. I don't know how clear it will be though, hence the post title.
Need:
jersey fabric sewn into a rosette. (find rosette tutorial I used here.) The bigger rosette is simply a strip of jersey twice as long as the little one.
elastic headband (or shiny elastic)
scrap of felt
needle and thread.
1. cut out a piece of felt the same size as the bottom of your rosette.
Monday, August 30, 2010
great finds: changing pad
I always get a little bit frantic when a baby shower comes around. What's the perfect gift? What might they already have? What would be useful, but unique? About a million different options come up, and are simultaneously rejected. Now I wish I were telling you that I've found a solution to this problem, but alas, I have not. Every baby shower is different. But, the last baby shower I went to was a diaper shower, and I found this great tutorial online that seemed to fit the bill perfectly. Diaper related, but not diapers per say. I found this changing pad wallet at chickpea sewing studio. It was easy to follow and quick to make-and surprisingly big. The only thing I would change if I made it again would be to sew a flat button on the front rather than one with a shank-so it doesn't stick into your baby's back when you lay her down on it. (but maybe that was my problem with placement). Anyway, I was really happy with the way it turned out. I may have to make myself one now . . .
are you sick of baby posts yet?
Subscribe to:
Posts (Atom)