Showing posts with label recipes. Show all posts

Thursday, October 6, 2011

Peaches


Okay, so canning peaches takes a lot longer than I thought. My first time ever, by myself that is. Here's what I learned:

plan on 20 quarts taking several hours (read: 6-8 hours)
a half bushel (one of those boxes without lids) makes about 12 bottles
when blanching the peaches, it doesn't work very well with unripe peaches. . .  make sure they're ripe, but not over ripe.
don't need an $80 pressure cooker to can peaches, just a $20 water bath canner
put the same temperature of water in the canner that the peaches are (I cold packed them)
even though it only takes 35 minutes (at 4000 feet) to water bathe them, it takes another 25 minutes to get them boiling
only 7 cans fit in the water bath canner, not 12 :)

All in all a great experience and I can't stop staring at those pretty peaches!!


on a side note, I had a lot of peaches so I also froze a bunch. Cut them up, and freeze them on trays before putting them in freezer bags. . . yummy smoothies later :)

Thursday, May 12, 2011

Homemade Granola: Yum


So I always have a "be healthier" New Years Resolution. Who doesn't right? But this year while I was still thinking about "being healthy" (isn't that so specific :) I ran across this blog called Word of Wisdom Living. Immediatley I was impressed. It's mainly about eating healthier, but he also touches on exercise a bit. He has a weekly "goal" to help you be a little bit healthier and has so much great information. I have continued to love it and it has kept my New Year's resolution alive and helped to not only hone in on what exactly I want to do to be healthier, but I've also learned alot and am excited about it. (We even tried tofu for the first time this week--but don't let that scare you away. . . he doesn't really talk about tofu).  He reads lots of research studies and really knows a lot. But the thing I love most about his blog is that he doesn't make you feel dumb or bad about what you are doing. He just makes you want to be better. So, go read his blog. NOW! You'll love it.

Anyway, so on that note I've stopped buying "sugar cereal" for our breakfasts. Lately we've been eating a lot of bagels and fruit and granola. Homemade Granola. I called my mom and got her great recipe-which I have no idea where she got it from. But it's super flexible. Here it is.


Granola

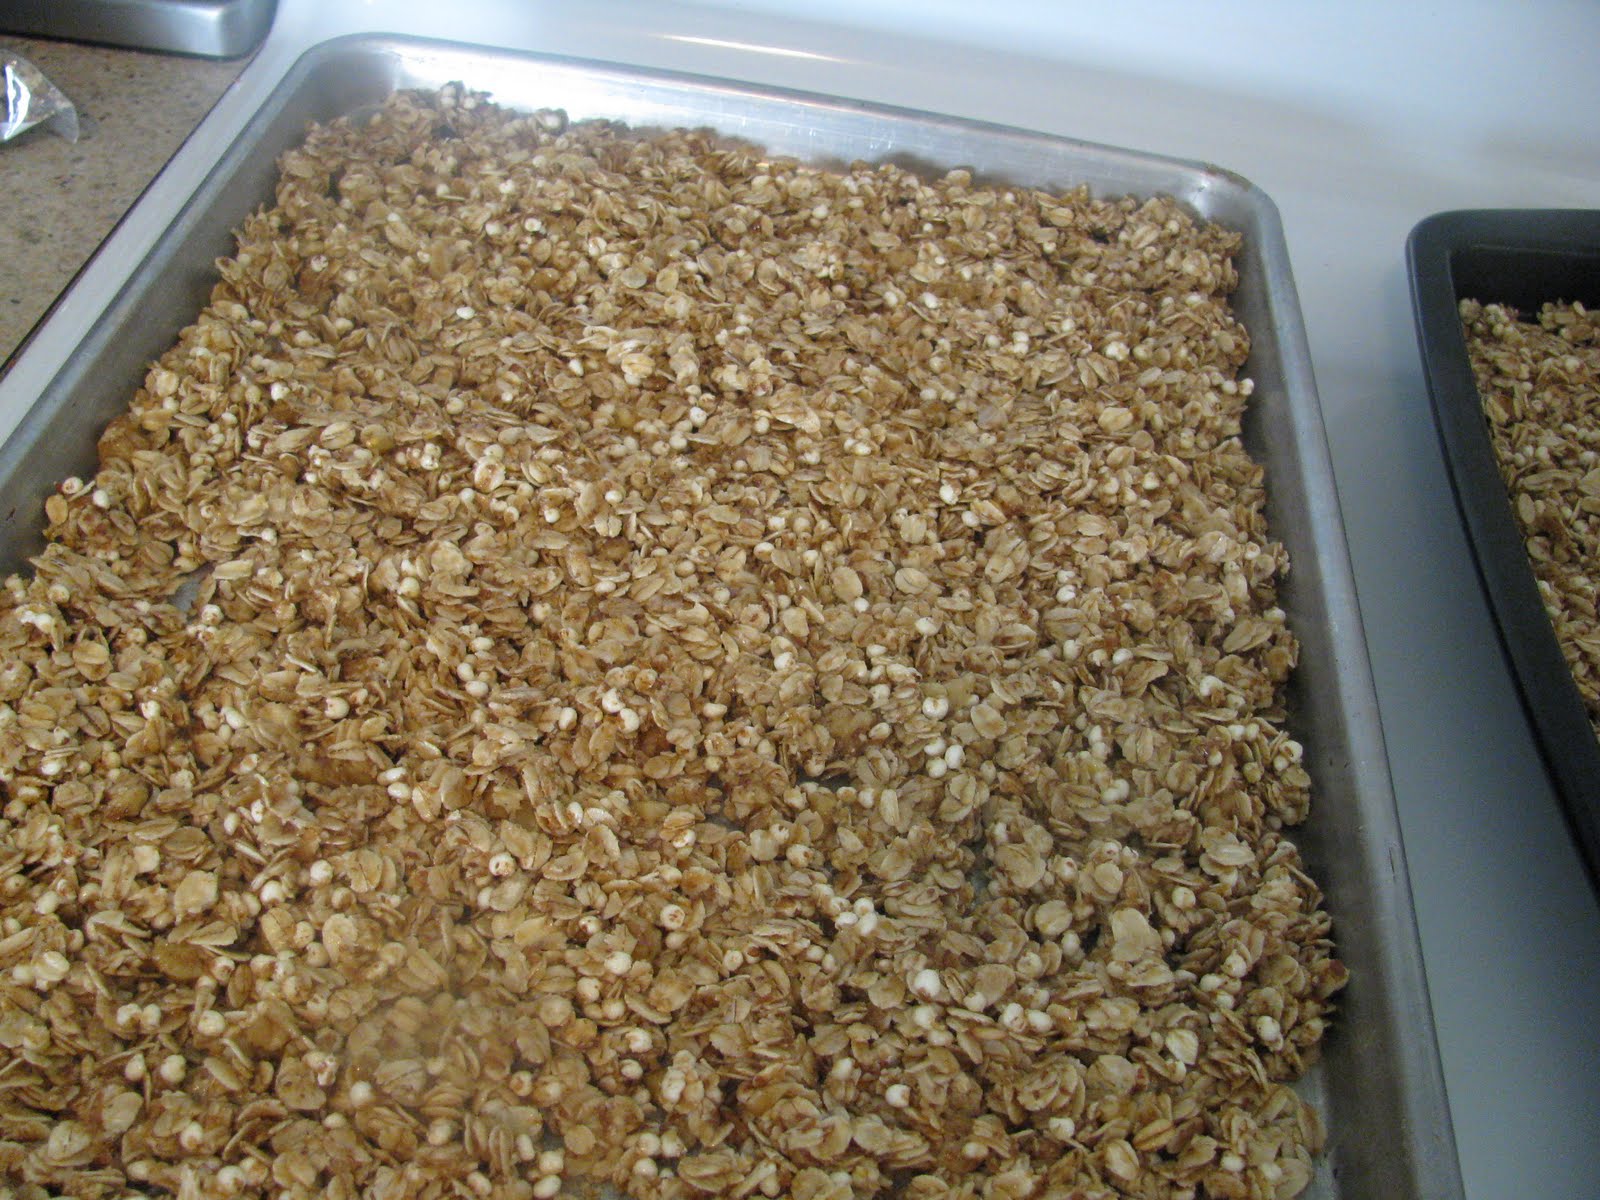
7 1/2 cups rolled grains (oats, wheat, rye, barley, whatever you've got on hand--in the pictures I just did 6 cups of oatmeal and 1 1/2 cups of puffed millet-which isn't rolled at all-but you get my drift).
1 c. wheat germ (this makes it good and healthy :)
3/8 c. sesame seeds (didn't add because I didn't buy any-but I added 1/2 c. ground flax seeds instead)
Any other nuts or seeds you want to add  (peanuts, walnuts, almonds, sunflower seeds, etc . . . )

For the "sauce"

1/2 c. honey
3/4 c. brown sugar (or just do it all honey and cut down to 1 c.)
1/2 c. oil (sunflower or other seed oils are healthiest, but I didn't have on hand so I just used canola)
1/2 c. water
1 1/2 t. salt
1 t. vanilla

Heat oven to 225 degrees. Mix grains and seeds together. Mix the sauce together and pour over granola. Stir until evenly coated. Spread a thin layer across a baker's half sheet (I filled 2) and put in oven for 2 hours, stirring half way through.


If you want to add dried fruit once you are done and it's cooled that's yummy too. Really the best part about this recipe is the flexibility of what you can put in it.

enjoy!

Tuesday, January 11, 2011

red goodness.


First, I've just put a fun subway art Valentine poster up in my shop.

Second, I thought I'd share the yummiest cherry cheese cake recipe-but it's a no cook cheese cake and very sweet. If you're into a heavy cooked "real" cheesecake, this isn't it. But mmmm m m m my mouth is watering now. Kids LOVE it!


yep, this is a birthday cake. Every year this is the hunny's request.


Cherry Cheese Cake

2 1/2 c. cracker crumbs
1/2 c. margarine
1 pkg of dream whip
8 oz. cream cheese
1 t. vanilla
3 T. milk
1 c. powdered sugar
can of cherry pie filling

Melt the margarine and mix with cracker crumbs and spread out in an 9x13 inch pan. Prepare the dream whip according to package directions. Add cream cheese, sugar, vanilla and milk and mix until smooth or almost. Spread out over crumb crust, top with cherries (don't spread, just drop) Chill and serve.

Wednesday, December 15, 2010

gingerbread-the perfect recipe


Every year growing up my mom would make each child in our family a gingerbread house and we would each get to decorate our own, put them together, and sneak the candy off of  all December long. On New Year's Eve at the stroke of "midnight" (or 10 o'clock) we would each break our houses and eat them by dipping them in milk to soften them up. LOVED IT. So of course, we've carried on the tradition (although I don't eat quite as much of the hard month old gingerbread as I used to . . . ) This last weekend we made our gingerbread house-sometimes I get a little anal about only using green, red and white candy, but this year I tried to relax (I still nixed the orange though-just couldn't quite let go). The little buddy put the candy on of his choosing and I helped with the frosting, and daddy made good suggestions about where to put stuff while holding the little sweetie. Lots of fun. Anyway, but I thought I'd share my awesome recipe with you all (which was originally one my mother got from the gingerbread lady in our ward (church congregation)). So I hope it's not a trade secret I'm sharing :)


GINGERBREAD (not great for gingerbread men-not soft enough-but good and firm for houses)

1/3 c. brown sugar
1/2 c. oil
2/3 c. molasses
1 egg
2 3/4 c. flour
1/2 t. salt
1 T. baking powder
1 t. cinnamon
1/8 t. cloves

cream brown sugar and oil. Add molasses and egg and mix well. Add dry ingredients. Chill dough overnight. Roll dough on an oiled peice of foil. Place on cookie sheet and bake in 300 degree oven for 20-30 minutes (1/2 inch thick (although I do mine more like 3/8 inch)). Place *pattern for walls on gingerbread and cut before baking (mmm. . . .never done that step . .. I guess I should read more carefully). Then trim with pattern on hot baked gingerbread (i always just cut it out while it was hot-burn your fingers all over hot). Lift out carefully and cool on a cake rack (or counter) until completely cool. Use royal icing to glue together

ROYAL ICING

3 egg whites (room temperature)
1/2 t. cream of tartar
1 lb. confectioners sugar

combine all ingredients and beat throughly until icing stands in peaks. Keep bowl covered at all times with a damp cloth. (When exposed to air it starts to harden-which is what keeps your house together.)


*I don't have my mother's original pattern so I made my own a couple years ago. It fits well into a 11x 17 baker's sheet. Here are the dimensions I use-use them or up or make your own (the beauty of this is that it only uses one sheet for the whole house) Keep your pattern as one piece and just cut notches to indicate where to actually cut on the real gingerbread)

A few helpful hints:

1. hold your "pattern" over your rolled out gingerbread before you bake it to make sure gingerbread it is rolled out far enough.
2. when the gingerbread comes out hot-cut out around the outside and use a knife to cut windows and door. then cut the little notches on the sides and then use the edge and a pizza cutter to cut the straight inside lines (down the middle and in three sections)
3. The front and back fit on the inside of the sides when squaring up the house.
4. decorate the house before putting it together. That way the kids can enjoy decorating without waiting for it to be put together, and usually they're bored and ready to go play by the time it's time to put it together-which makes it a lot easier.
5. when putting the roof on, hold one side and add extra frosting under the eave and then hold it for a minute or so for it to set a bit before adding the second roof. Sometimes they have a tendency to start sliding off.

Wednesday, April 21, 2010

Rolo Cookies


These rolo cookies are quite simply amazing-especially right out of the oven and still warm. mmmmm. I spent one semester in college eating at the cafeteria (and gaining 10 lbs) and these cookies were one of my favorite. So I asked the cooks for the recipe. I don't make it too often, but every time I do I wonder why I haven't made it sooner!

Rolo Cookies

2 1/2 cups flour
1 t. baking soda
3/4 c. cocoa
1 c. white sugar
1 c. brown sugar
1 c. butter
2 eggs
2 t. vanilla
48 rolos (a bag has about 56)

Combine flour, cocoa, soda. Set aside. Beat sugar and butter until blended. Add eggs and vanilla. Add dry ingredients. Shape into small balls. Press rolos into center of ball and cover with dough. Bake on a greased cookie sheet for 8-10 minutes at 350 degrees. Makes 4 dozen.

LinkWithin

Related Posts with Thumbnails