Showing posts with label sewing. Show all posts
Monday, April 9, 2012
Missed you guys
Well, let me tell you. Don't listen to nurses :) Just kidding. My sister in law is a great nurse. But as it happens one particular nurse told me 4 weeks ago not to take an psuedophed for my head cold. . . which a week later was a sinus infection. . . which also became an ear infection . . . so I called the nurse back and she told me to take psuedophed! It's been a fun 3 weeks of sickness around here and another week of frantically putting the house back together and getting ready for Easter. But I'm back! This is what I was working on all last week:
A little Easter dress for the sweetie. (Who was being very uncooperative for pictures outside . . . I couldn't get her out of that play house!) One of the weeks I was so sick I couldn't get out of my bed (thanks to the lovely vertigo assaulting me) I laid in bed and planned it all out in my mind. It turned out just how I imagined (which doesn't always happen) and that is always happy. And just so you know, if you ever are going to do ruffles on a dress figure around a 3:1 ratio (3 feet of fabric equals 1 foot of gathered fabric) and a lot of yardage to hem :)
Hope you all had a very happy Easter!
Monday, December 19, 2011
weekend sewing
Monday, December 12, 2011
Christmas Favors
Working on lots of stuff right now . . . here are some fun Christmas favor ideas, more fun Christmas ideas coming soon . . .
These fun Santa Bags are filled with candy, but anything would work. I think red fabric with white pom poms would be so cute! Here's some probably confusing instructions, I'm afraid I didn't take pictures for this one.
Santa Bags: (need Fabric, 2 pom poms, matching embroidery floss, a needle)
- Cut a 12 inch diameter circle out of fabric
- Tie a knot in a 2 foot piece of embroidery floss, thread in needle
- Push your needle through one pom pom and pull pom pom down until it stops at knot
- Sew a running stitch around the circle roughly an inch from the edge all the way around doing one small stitch past where you started.
- push needle through second pom pom and pull needle off thread
- tie a knot in the end of the embroidery floss and pull pom pom down to knot
- gently hold pom poms and push fabric together to shut your "bag"
Next up are mini fabric topped Felt Stockings:
Felt Stockings: (need red felt, fabric scraps, sewing machine)
- Fold felt in half and cut out the shape of a sock (if you want to be smart, I wasn't, make a pattern on paper first and add 1/4 inch all the way around--use to cut out felt)
- Cut out a piece of fabric 2 inches plus height and the width of your sock
- Lay your fabric on top of your felt wrong sides together and with your socks mirror images of each other
- Sew across the top of fabric/felt
- fold down bottom part of fabric 1/8-1/4 inch (press if you want)
- Fold fabric down over felt and sew across bottom
- Put right sides of socks together sew around sides and bottom
- inside out and fill
enjoy!
Tuesday, October 18, 2011
Simple Halloween Favors
Our first Halloween party was Saturday, so I was sewing and hot gluing like a crazy woman last week finishing our costumes. The day of the party came around and I hadn't even gotten to party favors. So I needed something fast. I pulled out the extra fabric from our costumes (didn't haven enough of my shiny green darn it). This is what I did: (sorry no pictures, remember that need it fast part)
*cut out some 6 by 8 inch squares.
*I folded them in half-right sides together (fat way not skinny)
*sewed up two of the edges leaving one side open
*Filled them with candy
*changed the colors on some toppers I had hanging around from last year
*printed them out and hole punched them (a 2 inch to cut them out -and a bitty one for a little hole at the top)
*strung them on a string and tied the tops shut.
Should I admit I did all the assembling in the car on the way to the party? Good thing it was a little ways :)
Anyway, if you need some party favors fast, here are the toppers I used. I know it's not Freebie Friday, but looking at the rest of the week, I'd say there's a pretty slim chance I'll get to it Friday-so enjoy today!!
Get the Free Halloween Toppers Printable here.
enjoy! Yeah, I should wait to post our costumes .. . .but I'm just so excited they're done, I couldn't resist ;)
Tuesday, October 11, 2011
monster making
Saturday is our first Halloween party. We have a few this year, and I'm so excited because I have been planning our costumes for months now. Yup, I'm still sewing them. Yesterday I was working on the neon green velour pants for the hunny (yes, my mother tells me he's amazing because he's willing to go along with my hairbrained costumes). I didn't really have enough fabric left to make them, but thought, heck, I'll just make them a little skinnier than I planned and they'll fit, right? WRONG. Rather, they fit me great. But I'm 5'1" and the hunny is 6'1" and I could barely get them around my thighs . . . . well, we had a really good belly laugh when he got home from work and he tried them on (after I ripped out the seam through the thighs). Oh man, if only he would have let me take a picture! So, we tried them on his arms and other than being a little baggy around his wrists, they fit perfectly! Good thing we need sleeves too huh! So the adventures continue . . . I'm making all our costumes except the Buddy's. His I just didn't think I could find the right fabric for it . . . But other than a few minor details the sweeties purple costume is done. Hopefully I'll be done with mine and the hunny's by Saturday!
Tuesday, August 23, 2011
super guy to the rescue!
The little buddy put in his first request: mom, make me a cape! Way back when my friend Andrea had made some reversible capes and I found that she'd used this tutorial from georgia leah, previously puking pastilles. It is a pretty general tutorial, but pretty great too. It worked perfectly. I used an old green shirt of the hunny's, and a dollar store baby red blanket and some felt I had lying around. I just drew the "long neck" (above) and the "C" by hand. He patiently waited and didn't take it off for two days once I finished it!
He's still wearing it almost every day (and choking his friends ripping it off their necks . . . ) what can I say? He loves it.
Now he thinks he needs to be a superhero for Halloween. I'm still trying to convince him it would be fun to be Sully (the buddy), Mike (the hunny), Mike's Girlfriend (me), and Boo (the sweetie) from Monsters Inc. for Halloween. I don't think I'm going to win. Have you started thinking about your costumes yet?
Wednesday, August 17, 2011
Parties & Quilts
The little sweetie had a very sweet birthday this last week. I've been a bit busy getting things ready and holding a teething sweetie too. But it turned out to be a lot of fun. Here's a little peek:
I used Dana of Made's shirt dress tutorial as a template for this little birthday dress, but used a pillow case instead of a shirt, and then embroidered the word "one" on the front, and colored it in with colored pencils to make it "pop" a little better.
A butter cream cake with fondant roses . . .
cupcakes with some fun toppers. . .
I cut a little frame out of wrapping paper to make pictures in her high chair a little bit more fun. . .
And I finally finished that quilt that I started before she was born! I'm so excited I actually got it done! Wahoo! I switched out the backing from the yellow and orange to a pink rose vintage sheet. And then quilted roses in all the white squares. We hadn't picked a name yet when I was working on the top, but I thought the pink roses were more appropriate after naming her :) Anyway, a fun first birthday gift for me, maybe not so much for her ;) The stroller from Grandpa and Grandma was her favorite (and the buddies too:)
Did I use enough emoticons?
I used Dana of Made's shirt dress tutorial as a template for this little birthday dress, but used a pillow case instead of a shirt, and then embroidered the word "one" on the front, and colored it in with colored pencils to make it "pop" a little better.
A butter cream cake with fondant roses . . .
cupcakes with some fun toppers. . .
I cut a little frame out of wrapping paper to make pictures in her high chair a little bit more fun. . .
And I finally finished that quilt that I started before she was born! I'm so excited I actually got it done! Wahoo! I switched out the backing from the yellow and orange to a pink rose vintage sheet. And then quilted roses in all the white squares. We hadn't picked a name yet when I was working on the top, but I thought the pink roses were more appropriate after naming her :) Anyway, a fun first birthday gift for me, maybe not so much for her ;) The stroller from Grandpa and Grandma was her favorite (and the buddies too:)
Did I use enough emoticons?
Tuesday, July 26, 2011
Old Stuff
Surprise! I do exist! Sorry it's taken me so long to get back to blogging. The actually moving part was crazy, but unpacking wasn't nearly as bad as I was dreading it to be (last time we moved I felt so overwhelmed I got a dizzy migraine and laid on the couch while my hunny unpacked most of the important stuff. . . I still feel guilty about it). But this time was much much better. Partly because we have a bigger house so we could move the boxes to more rooms. A small pile of boxes in each room is much more doable eh? Anyway, I'm sure you wanted to hear all about that. The real reason I haven't been blogging is that I haven't been doing anything crafty to blog about. Between summer and living close to family again, I really haven't had any time.
BUT, even if when not crafting I'm always up for some old stuff. I've always liked old stuff, but two weeks ago I went to a Relief Society Meeting, our churches women's group, and they were talking about family history and knowing who your ancestors were as people. I've heard it before but it really inspired me to get to know my ancestors as individuals with lives and feelings. One of the girls talked about how she owns the dining room set that her great grandmother scrimped and saved for over a year to get. I thought it was so cool that it had been handed down to her! SO cool. But alas, I come from a long line of big families and I doubt I'll get anything like that.
So fast forward to this weekend we went out to visit my husbands parents and his grandmother. We were sitting there in the assisted living home talking to her and she mentioned this large painting on the wall that a local had painted of the family farm with her husband on his horse. She mentioned she was going to give the painting back to the lady who had painted it because none of her children wanted it (including my husband's mother). I just about jumped out of my seat shouting I wanted it!! Not really, but I was probably a little too eager. I probably came off greedy. Either way she seemed delighted that someone wanted it and I do!
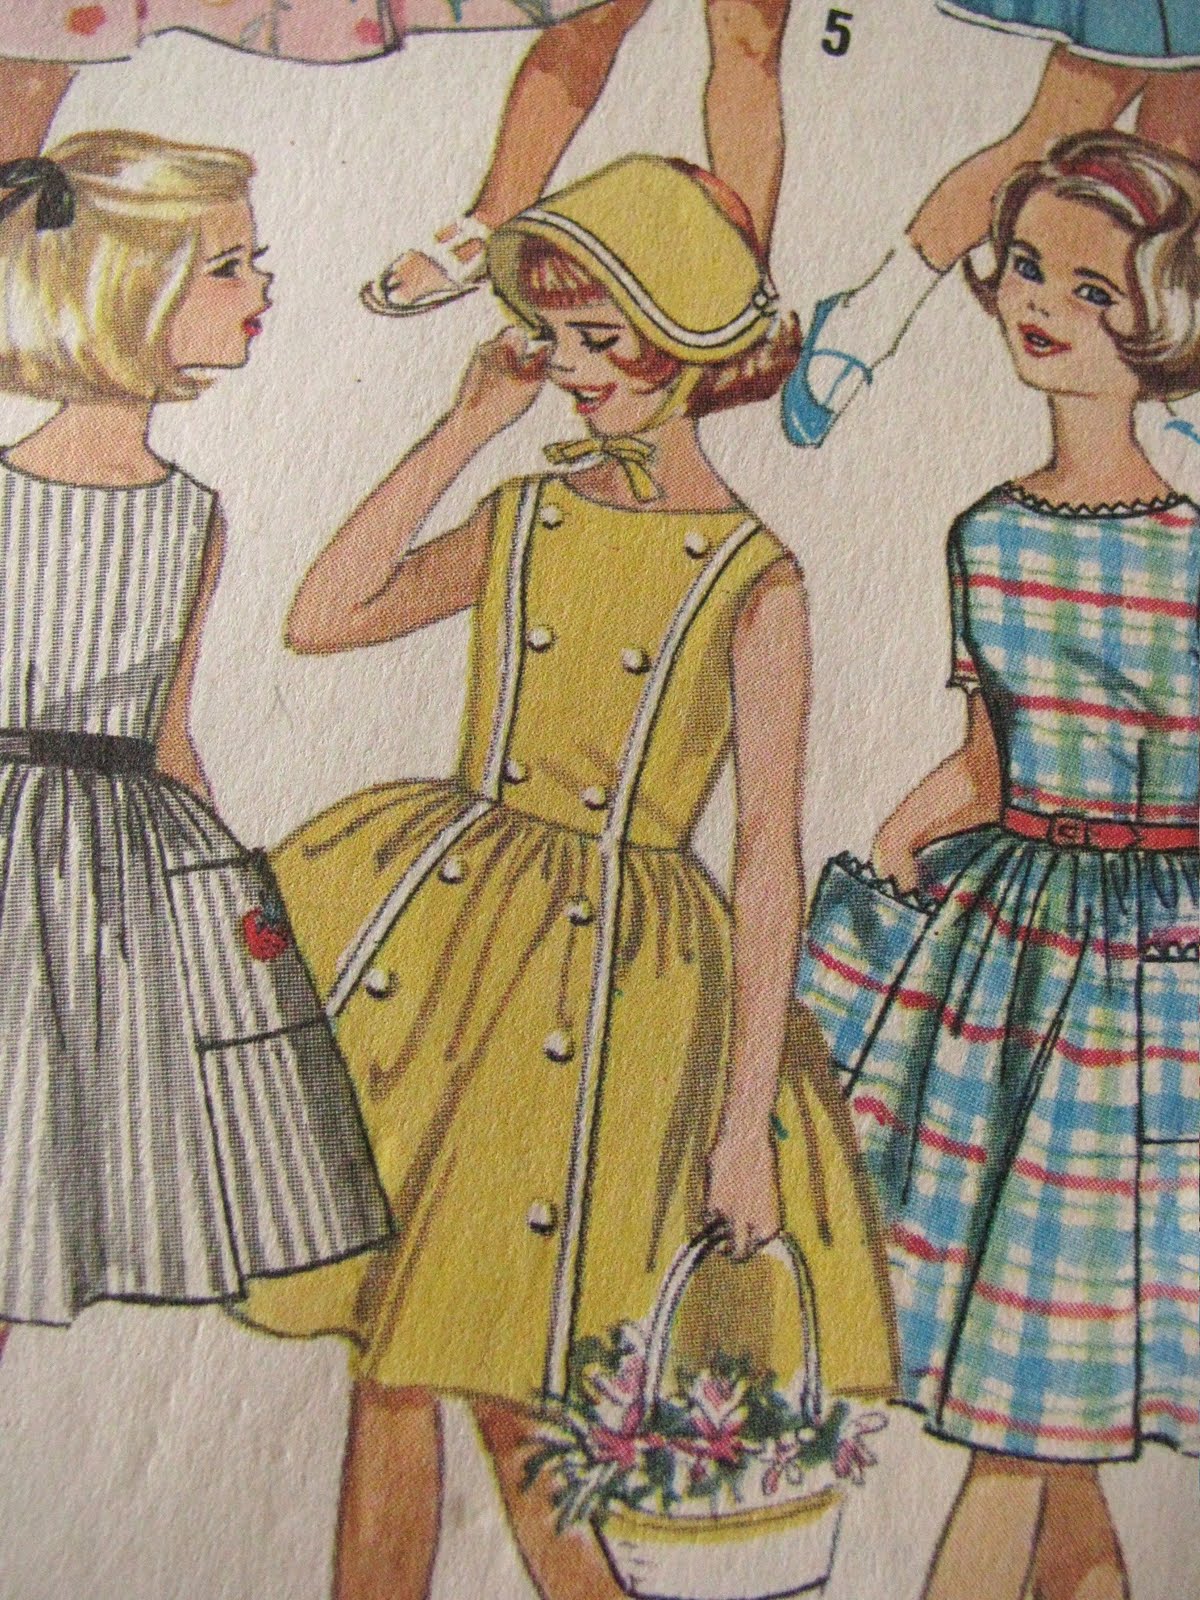
Second cool old thing. I convinced the hunny to stop at the small town thrift store while we were out visiting his grandmother. We were behind schedule and it was exceedingly generous of him to drive around town with the two kids sleeping in the back seat while I ran in to peruse the goods. Not too many, but I did run in to a great stack of old patterns. I don't even usually look for patterns but they practically jumped out at me! So I bought them, and little framed mirror, a ceramic owl (I plan to spray paint black for Halloween) and a vintage sheet. But really I was excited about the patterns. How fun are these?
Tuesday, May 10, 2011
mother's day hot pads
So I waited to post these until after Mother's Day because my mom occasionally visits my blog, but then it got crazy and now it's
Tuesday night? Alas, I'm still posting because I thought they were fun, and the Grandma's (and great-grandma's) loved them.
I was going to post a tutorial, but there seem to be lots already out there, and well, my seam binding capabilities are clearly lacking . . . so I'll leave it to the pros.
I will mention though, that I was going to have the buddy paint on the fabric for the back, and was so glad I decided to use permanent markers instead. It worked so much better! I cut the squares out first and had him decorate them and then after the hand prints dried I sewed them all up. Tada! I had him do a couple extra ones too that I will eventually sew into some hot pads for me too! (yeah right!)
Monday, April 25, 2011
Eggs & Sewing
I kinda dropped the ball this weekend. So many ideas so little time! So, I apologize for not so much as a "hi" on Friday. This is what I've been up to:
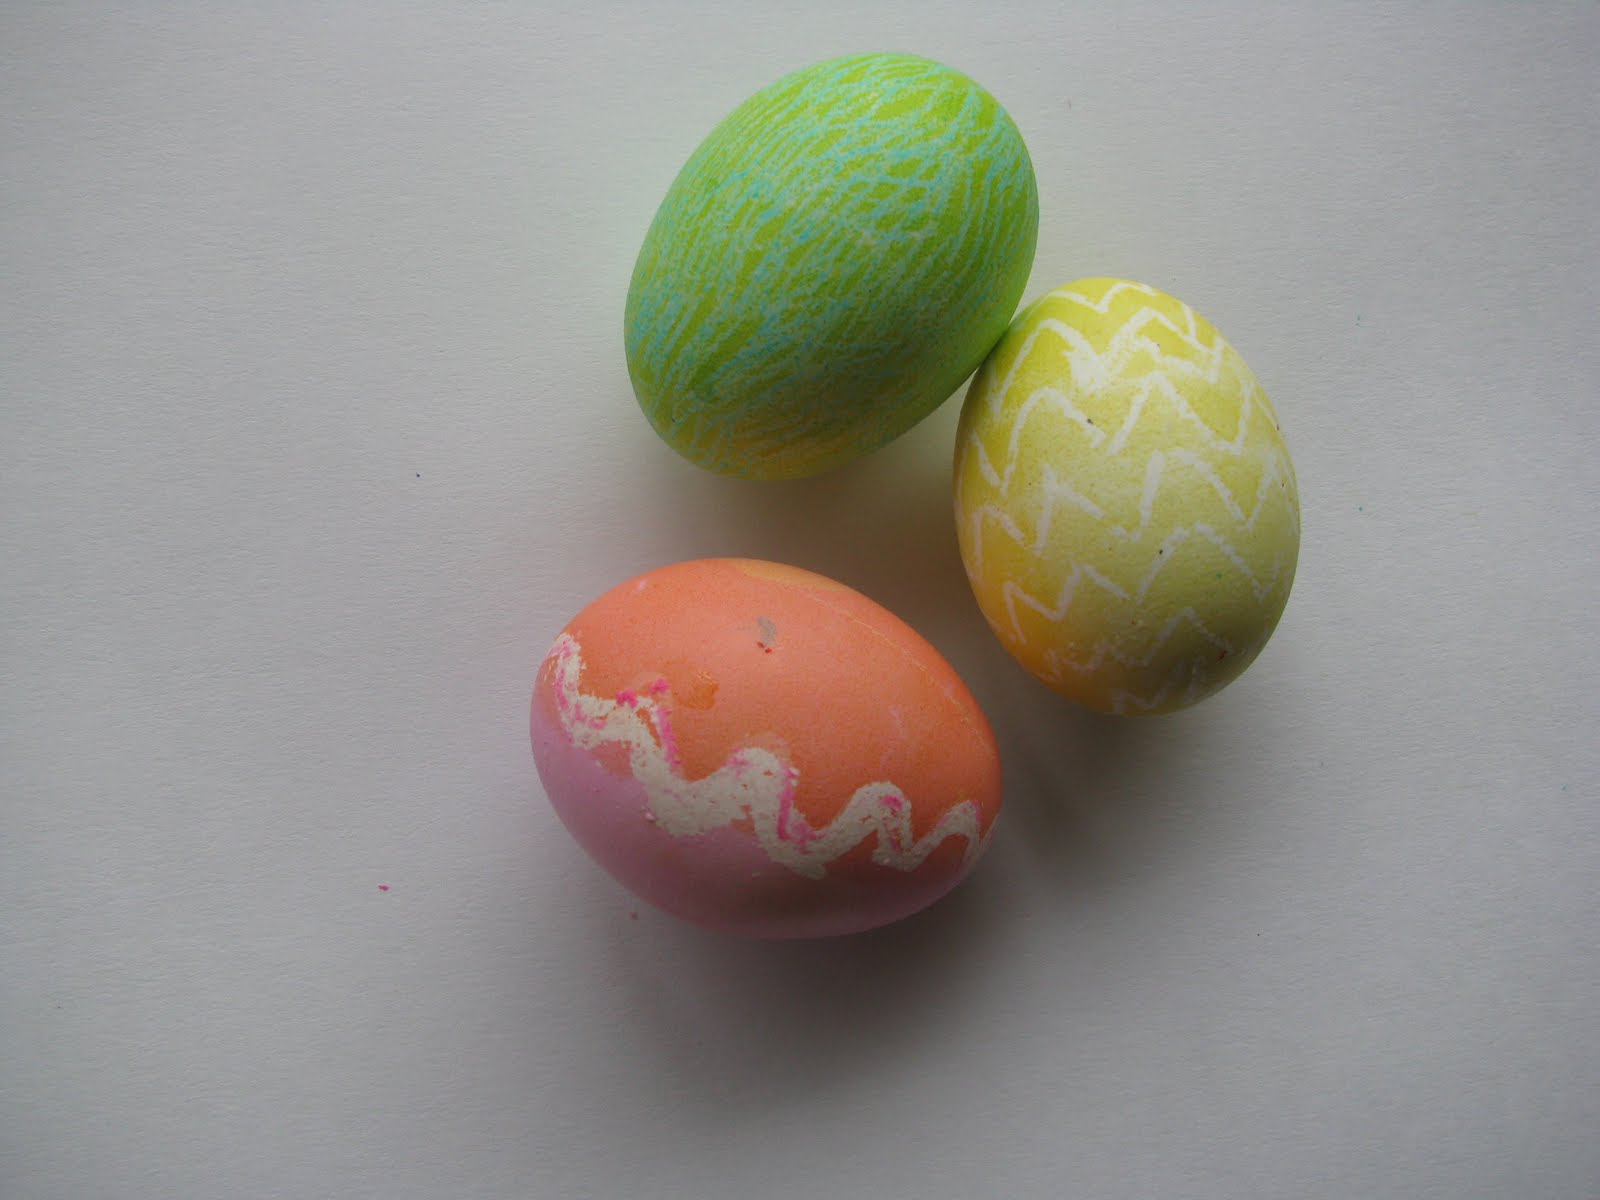
Coloring Eggs: Family tradition dictates we have to do it on Good Friday. It's one of my favorite Easter Traditions.
This year the buddy really got into it: these are his beautiful creations:
I love this one: He put it in every color. I think it looks like a chalkboard.
And then I finished the sweeties Easter dress. I ended up following a Kwik Sew for Toddlers book rather than the original pattern I posted after finding out it only contained the 6 month size. oops. But this one works too. It's a tad big-but she'll grow into the 12 month size eh?
and made her a little rose bud head band to go with it
(and then Sunday morning sewed some of the extra lace onto her socks too).
I also let the buddy pick out the fabric for a tie I made using this tutorial on icandyhandmade. I wanted to do a pink one to match the sweetie, but he insisted on green. (I still snuck a little pink on the back. . . and then he proceeded to chew on his tie all through church . . . boys will be boys I guess).
Last but not least I decided last minute to sew myself a circle skirt as well following this tutorial on from MADE. I even dyed the elastic. See? The week was crazy, but Easter ended up being really really good. And that's what matters right? I hope you had a wonderful Easter weekend as well!
Subscribe to:
Posts (Atom)