Showing posts with label kid crafts. Show all posts
Wednesday, December 14, 2011
preschooler made presents: tie tacks & pendants
The buddy is in a co-op preschool and I was lucky enough to teach the last lessons in December before they took a Christmas break. We made some fun presents for the parents. Tie tacks for Dad and a necklace pendant for Mom.
Each child got a little bit of sparkly grey sculpey clay to mash down (on a piece of aluminum foil) until it was thin.
They took turns cutting out a star shape with a small fondant cutter (probably about 1/2 inch across that's my hand not the kids)
Then they helped me stamp the first initial of their parents names in the star (I debated doing the child's name but decided against it).
I baked them according to the package instructions and then glued a tie tack backing, or a small circular ring to the back of them with E600 glue.
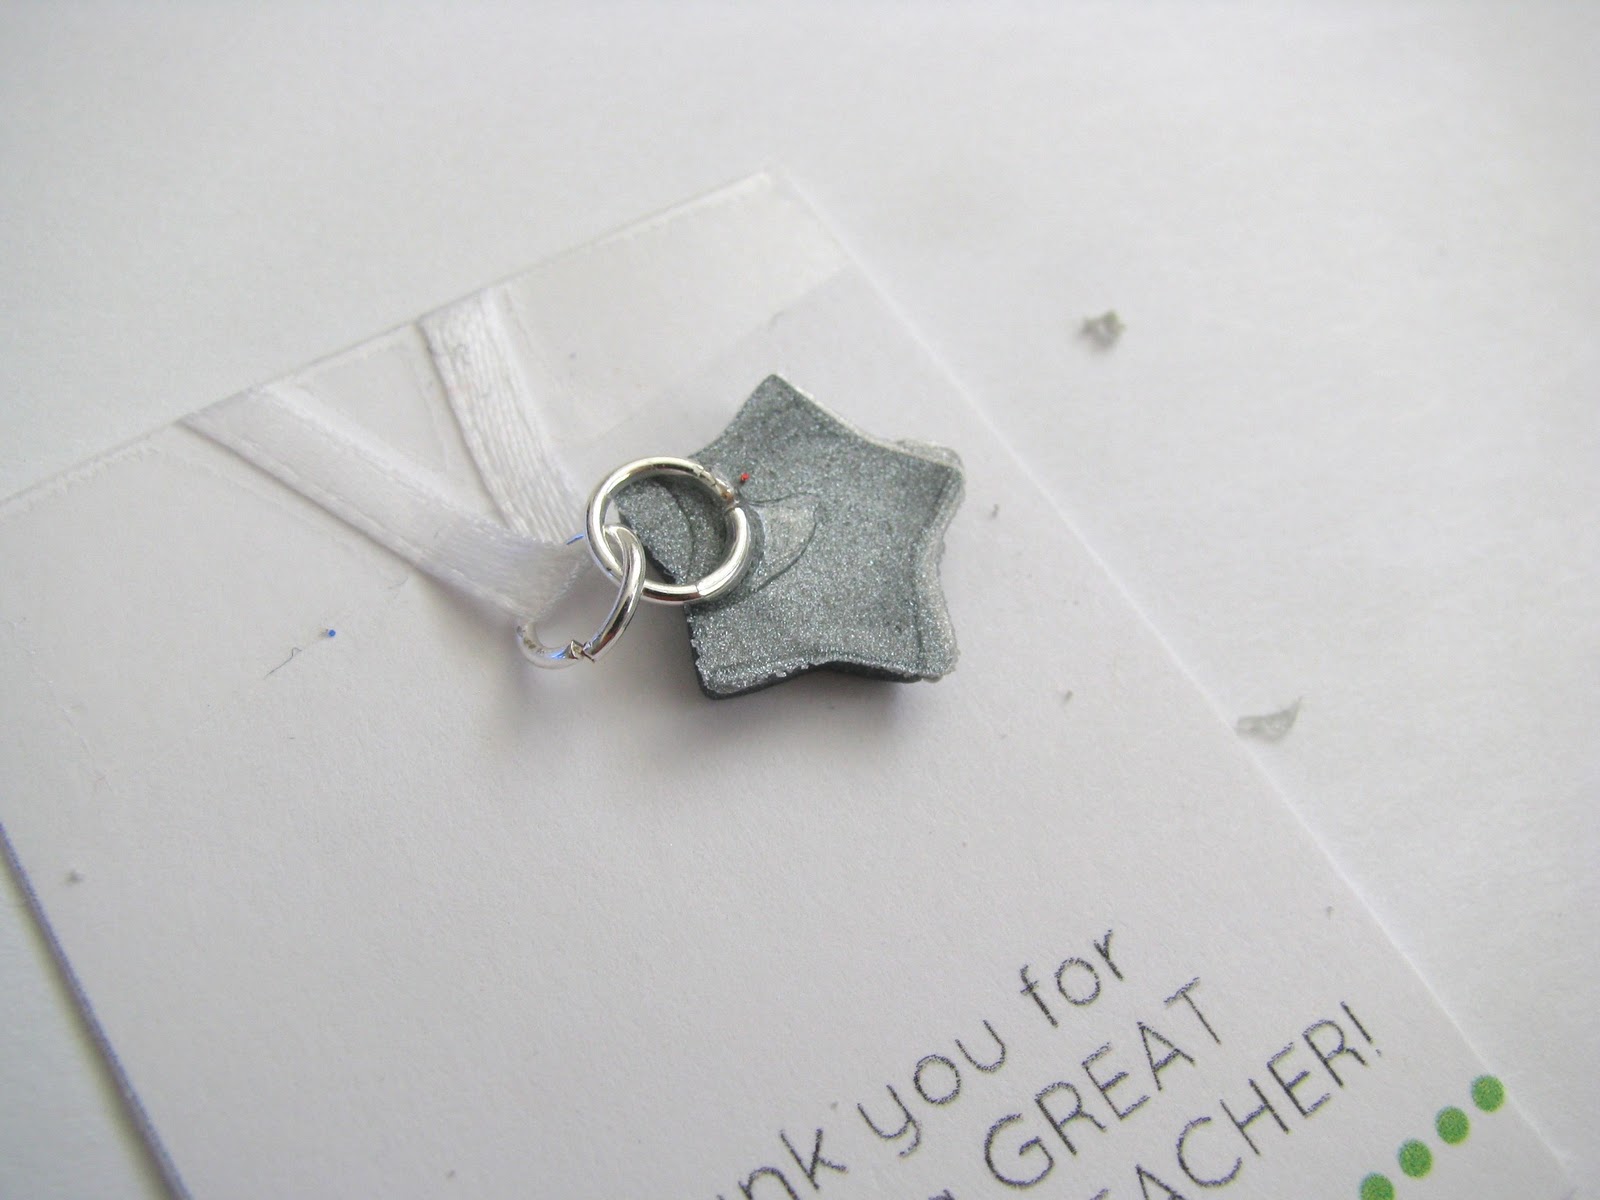
The thing I love the most about them is the little fingerprints left from the kids as they smashed the clay.
enjoy!
Friday, September 30, 2011
Freebie Friday Bat Man shirt Pattern
In truth I wanted to do spiderman. The buddy has been finding spiders for me to kill, and then cleaning up the remains with tissue paper and then calling himself "spider man." This needed a spider killer shirt. But the buddy said, no, I want BATMAN! But I didn't want Batman. I wanted a spiderman shirt. Well, sometimes I have to remind myself that with unimportant things it doesn't matter what I want. (As a side note, I'm not super big on the super hero craze he's got going. I'm doing my best to discourage the four year old. FOUR. He's got years to enjoy them. But isn't he a little young? I think so.) Anyway, my evil plan was to put the bat in between the words BAT and MAN it wouldn't be so overly batman. right? Did it work?
Here's the simple tutorial:
Materials:
Pattern
fabric-black, purple (whatever colors you want)
heat 'n bond (found in the sewing notions section I think)
iron
scissors
T-shirt
Print out the "Bat Man Shirt" pattern. Cut out around each of the words and the bat.
Use your cut out paper patterns as a guide. Cut out three same sized peices of heat 'n bond.
Place the bumpy (not paper) side of the heat 'n bond on to the back side of the fabric of your choice, iron on following the heat 'n bond instructions.
Cut out the bat and words-on the lines. I cut through the B and the A's so I could cut out the inside part as shown.
And use as a stencil of sorts. Draw around the words on the heat 'n bond. Make sure you turn the letters around backwards so that they will be the right way when you flip the fabric over.
Cut out the fabric backed with heat 'n bond and peel off the paper.
Position words on your shirt, and iron on
Wala. ..
Show it off!! enjoy!
Wednesday, August 31, 2011
First day of Joy School
The Buddy started joy school yesterday. He LOVED it! Couldn't stop talking about it all day. . . "We did singing" . . . "I liked the joy fish!" . . . "I know pokey bear." . . . "I didn't want to stop playing duck duck goose!" It was so fun to hear him talk about it, especially since we did the first day at our house so I knew what he was talking about. He had a spill of words when his daddy came home and showed him his melted crayon art project. We had so many crayon "crumbs" left over that we did a bunch more after the other kids went home. I thought this one turned out so cool. Don't you think it looks like a bird?
They were really easy to do. We just shaved crayons with a paring knife and then folded a piece of printer paper in half and sprinkled the crayons inside, put a bunch of newsprint on top and melted it with the iron.Then open it up quickly before the crayon dries. It would be fun to do with fall colors in mind as fall decorations. Turn them into garland or place mats or whatever.
Also, quick reminder that Thursday night I will be announcing our giveaway winner! Last chance to enter!
Tuesday, August 23, 2011
super guy to the rescue!
The little buddy put in his first request: mom, make me a cape! Way back when my friend Andrea had made some reversible capes and I found that she'd used this tutorial from georgia leah, previously puking pastilles. It is a pretty general tutorial, but pretty great too. It worked perfectly. I used an old green shirt of the hunny's, and a dollar store baby red blanket and some felt I had lying around. I just drew the "long neck" (above) and the "C" by hand. He patiently waited and didn't take it off for two days once I finished it!
He's still wearing it almost every day (and choking his friends ripping it off their necks . . . ) what can I say? He loves it.
Now he thinks he needs to be a superhero for Halloween. I'm still trying to convince him it would be fun to be Sully (the buddy), Mike (the hunny), Mike's Girlfriend (me), and Boo (the sweetie) from Monsters Inc. for Halloween. I don't think I'm going to win. Have you started thinking about your costumes yet?
Friday, August 19, 2011
Freebie Friday: ABC Squares
Some fun and versatile ABC "squares" for the freebie this friday! (click on the words to go to the download)
Just in time for school, eh? Two pages with a couple double letters- the most common ones. Here are some fun thoughts on using them:
modge podge on wooden blocks
memory, matching or go fish game
tile them in a large frame
mount them on a chipboard or laminate them
make them into magnets
use them as cupcake toppers
Put them on buckets/ boxes or jars and fill them with things that start with that letter
use them as labels to spell out names, etc . . .
enjoy!
Tuesday, May 10, 2011
mother's day hot pads
So I waited to post these until after Mother's Day because my mom occasionally visits my blog, but then it got crazy and now it's
Tuesday night? Alas, I'm still posting because I thought they were fun, and the Grandma's (and great-grandma's) loved them.
I was going to post a tutorial, but there seem to be lots already out there, and well, my seam binding capabilities are clearly lacking . . . so I'll leave it to the pros.
I will mention though, that I was going to have the buddy paint on the fabric for the back, and was so glad I decided to use permanent markers instead. It worked so much better! I cut the squares out first and had him decorate them and then after the hand prints dried I sewed them all up. Tada! I had him do a couple extra ones too that I will eventually sew into some hot pads for me too! (yeah right!)
Monday, February 14, 2011
Happy Valentines
I just wanted to let you know how much I appreciate all of your comments. Thank you! They truly make my day.
The little buddy and I made these Valentine's last week for grandparents. I pulled out these hat stickers I've had hanging around forever (like 10 years hoarding . . . forever). He went to town with them. He would tell me what "shirt" he wanted and I would do the cutting. He did all the planning and most of the gluing. but then when I told him we were going to give them to the grandma's he got all teary eyed and said he wanted to keep it. It was his "cowboy hat." How could I say no? I was secretly glad we got to keep one of them because they were so cute!
So here's a happy valentine's to you from the buddy and I :)
and no . . . the hunny isn't a police man . . . it just looks like it :)
Wednesday, January 5, 2011
The Buddy's Calendar
We sent the grandparent's 2011 Calendars for Christmas using the template I made here.
We tried to do a variety of simple crafty projects for every other month, and then just put a picture on the other months. He was really into the glitter. He wanted to glitter EVERYTHING! I also forgot to tell him to keep his coloring to the top portion on the first one and it got a little wild. Since I wanted them to be able to write in the bottom portion we had to reprint that one. Not a biggie. I did learn one lesson though: the little buddy doesn't like me micro managing him. huh. weird. joking. (about it being weird, not about him not liking it). I think I need to back off a little more and let him do his thing. That's hard for me when we're making something for some one else-but I also don't want to destroy his confidence in his own creative abilities. A fine line. I ended up letting him pick colors and placement while I directed the theme for the most part.
When I went to get it bound they said the couldn't have it done for several hours-and I needed to get it off in the mail that day- so I used two rings instead.
This was a potato print I cut and the buddy stamped.

finger print shamrocks . . .

finger print dots on cupcake papers . . .
We did a little glitter under some of the pictures . . .
simple stars and stripes out of construction paper . . .
stickers . . .
glittered handprint turkey and a little marker . . .

fairly simple. It would have been fun to make an extra one for us to keep!
We tried to do a variety of simple crafty projects for every other month, and then just put a picture on the other months. He was really into the glitter. He wanted to glitter EVERYTHING! I also forgot to tell him to keep his coloring to the top portion on the first one and it got a little wild. Since I wanted them to be able to write in the bottom portion we had to reprint that one. Not a biggie. I did learn one lesson though: the little buddy doesn't like me micro managing him. huh. weird. joking. (about it being weird, not about him not liking it). I think I need to back off a little more and let him do his thing. That's hard for me when we're making something for some one else-but I also don't want to destroy his confidence in his own creative abilities. A fine line. I ended up letting him pick colors and placement while I directed the theme for the most part.
When I went to get it bound they said the couldn't have it done for several hours-and I needed to get it off in the mail that day- so I used two rings instead.This was a potato print I cut and the buddy stamped.

finger print shamrocks . . .

finger print dots on cupcake papers . . .
We did a little glitter under some of the pictures . . .
simple stars and stripes out of construction paper . . .
stickers . . .
glittered handprint turkey and a little marker . . .
fairly simple. It would have been fun to make an extra one for us to keep!
Tuesday, December 14, 2010
already tuesday?
This month is seriously flying by. Sorry about the lack of posts. Some easy fleece hats we made yesterday with monograms. I used this Martha Stewart tutorial, which I must say was more confusing than helpful. But it gave measurements and that's mostly what I needed anyway. The little buddy helped me paint on the monograms (we just used acrylic paint)-the gifts are from him after all. If I'd had freezer paper like I thought I had it would have been more helpful. I planned to do freezer paper stencils, but when I pulled out the freezer paper I realized I'd bought parchment paper instead. Alas. I hot glue gunned them on-letting the glue dry for a few second before pressing it on. It didn't work great-some parts were all the way cool and didn't stick, other parts were too hot and I had to cut them off with my exacto knife. But, they're alright, and the little buddy loves his! I used grenouille font in caps at 400 pt in word-made them outlines and cut them out-which, again would have been perfect as a freezer paper stencil.
Tuesday, December 7, 2010
must be santa
This is what we did today. Last week I helped with a primary activity where they were doing these cute cute santa's. So I took home some of the extras and we finally got to them today. They are pretty easy and so darn cute. We used stiffened adhesive backed felt for the hat and put it all on a tile. I love children handprints!
Friday, December 3, 2010
Freebie Friday-Make Your Own Calendar
So I want to have the little buddy make hand made gifts for the grandparents. But I want it to be something useful, not something that will get tossed or forgotten, and something made by him, not me. Unless I come up with a better idea than this before we get around to it, this is what we will be doing . . . decorating a Calendar for the grandparents! Print your own here.
A few other fun ideas:
*Paste pictures on each page
for drawing prompts:
*draw a squiggly shape and have them make something out of it (that was always my favorite in elementary school)
*make a collage for each month using magazines, etc.
*do pictures of the family members who have birthdays in that month
* To finish i: staple it, put in a folder in page protectors, cerlox bind it, or even frame them.
I think this will be a great way to introduce time and calendars to the little buddy in a more formal way!
I'm also pretty excited about the new poster I just put up in my shop-check it out!
Subscribe to:
Posts (Atom)

